


Hey Guys,
In this blog, we will be setting a complete hacking environment using Virtual Box. In our future hacking tutorials also, we will do all of the hacking stuff on Virtual machines only(not on our primitive machine).
Need of Virtual Machines in Hacking
As a beginner in hacking, one can make several mistakes or even get infected by our own trojans. To prevent all of that stuff to mess up our primitive host machine, we will be creating Virtual Machines on Oracle Virtual Box. All of our machines will be connected via a NAT Network so that there is an unrestricted flow of network across the devices. You can even create snapshots of virtual machines and restore the original state, in case you messed the VM OS.
Setting the Environment
We will download two major virtual machines. One will be the attack machine, one will be the victim machine.
NOTE- All the attacks done on virtual machines can be done in the same way to real machines also. But never try to hack someone else's system without his concern, because it's also considered a crime.
The Victim machine will be Windows MS Edge VM & the attacking machine will be Kali Linux(Customized by Z security)

Downloading Oracle Virtual Box and required virtual machines
NOTE- Minimum of i3 processor and 4GB ram is required for smooth function of the virtual machines. 8GB ram recommended. You may need strong Wi-Fi to download huge setup files
Virtual Box
There are a number of software with which you can run multiple operating systems but amongst them, Oracle Virtual box is the most reliable. I am going to tell you how to set up virtual box and after that we will be downloading a Microsoft Virtual Machine.
Link:- virtualbox.org/wiki/Downloads
Select your OS from the platform packages menu... eg- Windows users should select windows hosts.
Download the extension pack under the heading VirtualBox [version] Oracle VM VirtualBox Extension Pack
The above extension pack is required for hacking. By the way, it's useful for general purposes also, hence, I suggest you all to download it.
NOTE:- The extension pack and the main software should of the same version all the time. While updating the VB, update the extension pack also.
Follow the onscreen instruction after running the setup file.
You will see the following window after downloading
Downloading and running your first Virtual Machine
We will be downloading Windows Virtual Machine:-
developer.microsoft.com/en-us/microsoft-edg..
Choose the MSEdge VM & Virtual Box as the platform.
Note:- Windows VM license expires after 1year. Hence you can create a snapshot, which you can restore after it expires. Refer to this Link to know more about Snapshots in Virtual Box techrepublic.com/article/how-to-use-snapsho... After downloading the file, extract it if it's compressed. Then just double-click on it load it on the virtual box. The process will take time according to your System Specs.
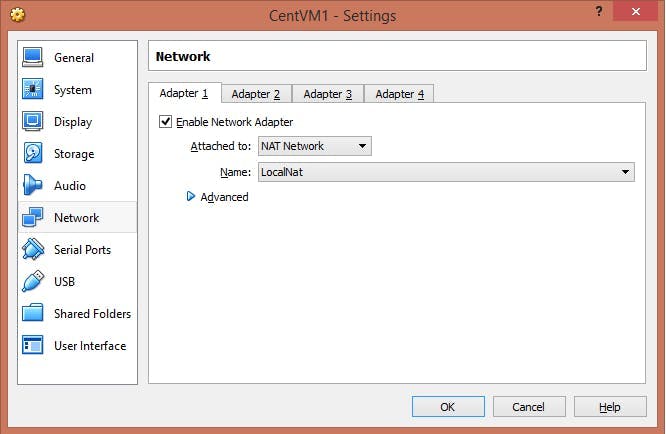
Open Virtual Machine Settings. After completely downloading, set your network to NAT network in the networks tab.
Then in System Tab, select the ram you want to give to the VM while running(2/2.5 GB is sufficient).

After downloading the Windows VM, you can download Kali Linux from the link below:-
zsecurity.org/download-custom-kali
The default Username and Password is mentioned on the above website. Download Kali in the same way as you did Windows VM. Ram available to Kali should be more than that of the Windows VM because it will run a number of processes.
NOTE:- Both the Virtual Machines should be on NAT Network, otherwise they will not be able to communicate with each other.

After downloading both the virtual machines, configure them according to your need. Use the login details mention in the z security website to get into Kali System.
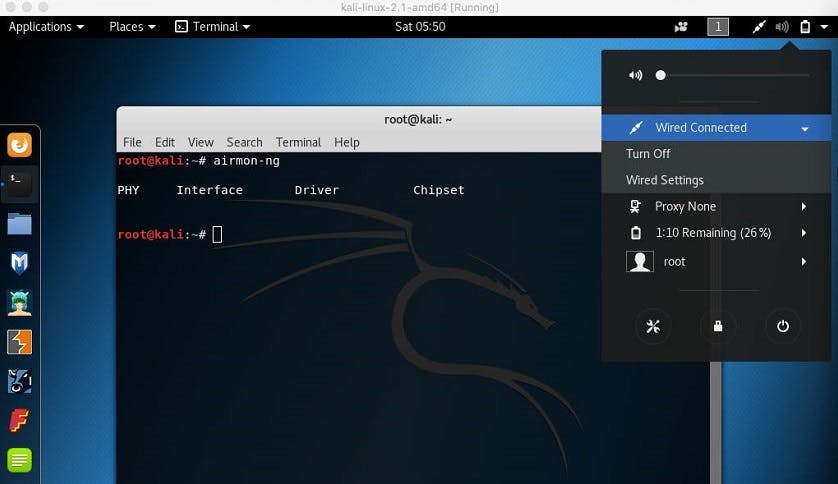
Make sure your Kali has wired connection.
Errors you might face after downloading Kali Linux
Missing NAT Network:- youtube.com/watch?v=y0PMFg-oAEs
Black Screen Error:- zsecurity.org/got-a-blank-screen-after-impo..
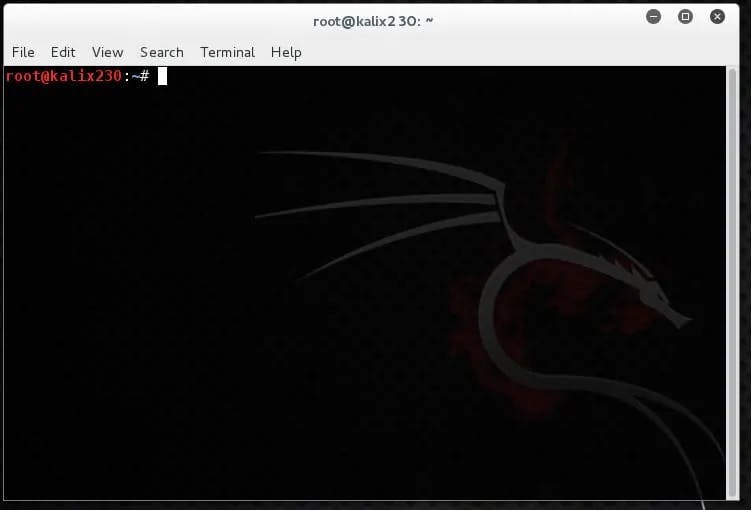
After Successful opening Kali with no issue, have a look at the interface. Since we will be doing most of our work on the root terminal, let's have a look at the various commands we can use.
Link to various Linux commands:- mediacollege.com/linux/command/linux-comman..
After opening Kali our first step will be to update the system.. Run the following code in the root terminal
apt-get update
After updating, run the following code to install the terminator
apt-get install terminator
Terminator is also a root terminal with more accessibility and efficient coding features. You can spit the main window into a number of terminals using terminator
Congratulations, you just completely set up the hacking environment.
Hope you learned something new today!
Don't hesitate to comment below to raise any queries or suggestions.
Will see you guys very very soon!! :)